
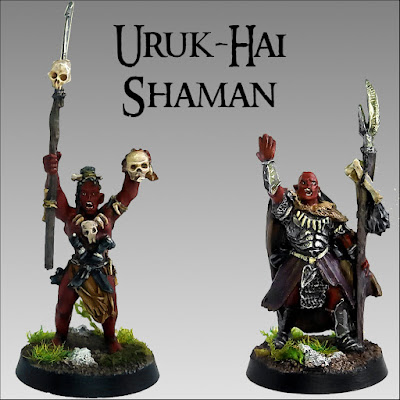
Painting: Uruk-hai Shaman details
Mae govannen mellon nín.
Welcome to another post from this blog, my friends!
I'm almost ending this Uruk-hai campaign (there are probably 2 or 3 posts left for me to do), and it's been great to get these little guys painted!
On today's post I will be focusing on the distinctive details of both Uruk-hai shamans: the bone and skulls of the metal scout and the fur cloak of the resin warrior (both minis from the "command packs").
If you have just stumbled upon this post and wish to check some other Uruk-hai painting tutorials, you can check the following posts:
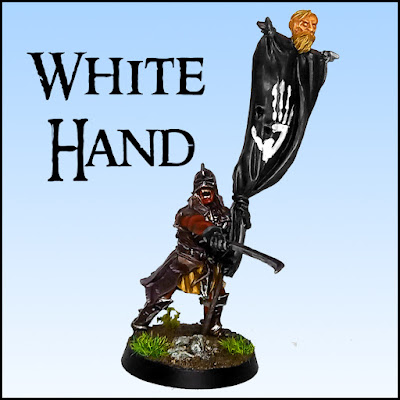
Isengard Bases | White Hand of Saruman
Feral Uruk-hai | Uruk-hai Crossbowers | Uruk-hai Berserkers | Mauhúr
Uruk-hai Banners | Uruk-hai Captain Rock Base | Uruk-hai Drummer
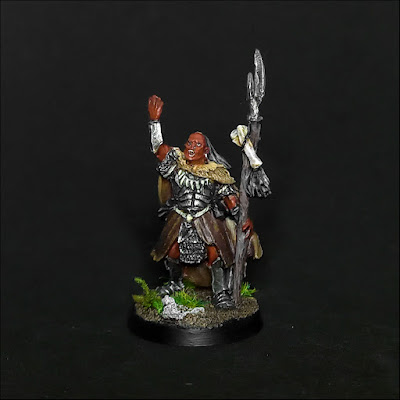
How to paint the fur cloak?
First of all, I have decided to try and achieve a brown gradient finish, so I went for a wet-blending approach. This means I worked the different tones of brown while the paint used on the previous steps was still wet. The idea is to really blend the tones together at the verge of one another (you can perceive it by the looking at the gloss on the photos).
I mention the colours and brands that I have used for the tutorial in parentheses but, as with every miniature, there aren't 100% correct formulas and so the brands I use aren't really a "must have" for this particular tutorial. Anyone should use what paints they have and mix them if need be.

As usual, I primed the mini with grey (my preference), but black or brown will also do the trick. Then:
1. I basecoated the entire cloak with a warm dark-brown (thin it down or use a wet-palette). (Citadel's Rhinox Hide)
2. While the basecoat was still wet, I started to work a mid-brown from the top to two thirds of the cloak. (Citadel's XV-88)
3. Still not letting it dry out, I then applied a layer of a light-brown on the first third of the cloak - that top is well distinct from the rest of the cloak. (Citadel's Screaming Skull)
4. Now, letting it dry completely - and this may take a while so make sure it really is as dry as a desert - I drybrushed the same light-brown paint with a hint of white mixed to it.
5. The final step of the cloak was meant to deepen the recesses of the fur so, carefully, I shaded the inner parts of the cloak with a brown-wash. (Citadel's Agrax Earthshade)
6. After all that is done, It's time to get to the rest of the mini!

How to paint skull and bone?
Now, this will be a simple depiction of the way I usually paint skulls and bones:


I really love the cloak on your shaman. Great colour transition and then tied back together with the highlight - perfect, really!
ReplyDeleteMany thanks my friend!
DeleteI do always get excited when painting fur 🤣