
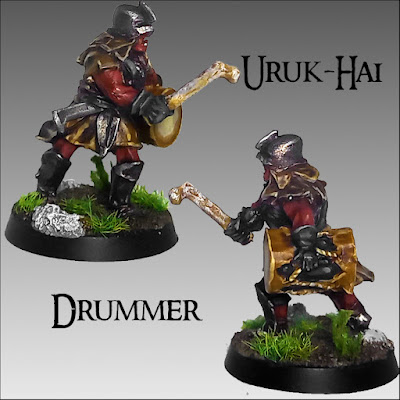
Painting: Uruk-Hai Drummer
Mae govannen.
Welcome to another post from this blog, my friends!
My Uruk-hai campaign is almost at an end, but there are some things yet to blog about.
This time I will show how I painted the Uruk-hai drummers - yes, in plural, since I had two: one from the warriors pack (resin) and the other from the scouts pack (metal).
If you have stumbled upon this post and wish to check some other Uruk-hai painting tutorials, you can check the following posts:
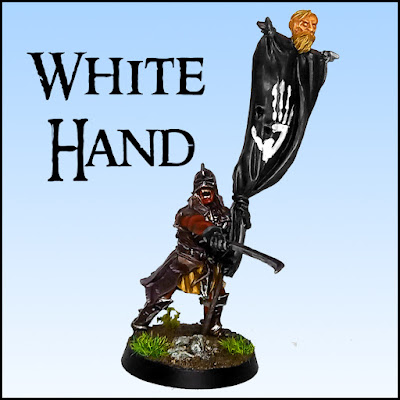
Isengard Bases | White Hand of Saruman
Feral Uruk-hai | Uruk-hai Crossbowers | Uruk-hai Berserkers | Mauhúr
Uruk-hai Banners | Uruk-hai Captain Rock Base
How to paint Uruk-hai drummer?
This miniature will be a fairly simple painting, very similar to the rest of the scout commanders already painted.
I mention the colours and brands that I have used for the tutorial in parentheses but, as with every miniature, there aren't 100% correct formulas and so the brands I use aren't really a "must have" for this particular tutorial. Anyone should use what paints they have and mix them if need be.

- Basecoat: I used a dark red-brown. (Citadel's Doombull Brown)
- Shade: The best shade for this kind of skin will be achieved with a brown wash. (Citadel's Agrax Earthshade)
- Highlight: I mixed the basecoat colour with a mid-skin tone to lighten it up a little bit. (Citadel's Doombull Brown + Cadian Fleshtone)

For the next phase I basecoated the leather parts (the helmet and inner armour will be painted with a metallic colour later) and painted the drumhead:
- Leather Basecoat: This step was done with a very dark-brown. (Citadel's Rhinox Hide)
- Drumheads Basecoat: The skin of the drumheads had to be lighter, so I used a mid-brown tone. I have also used this paint to get the most prominent parts of the leather painted, leaving the deeper ones untouched. (Citadel's XV-88)
- Highlight: With a very thinned-down light-brown paint I painted some 4 circles on the drumhead, being every circle smaller than the previous one. Also, I used this colour to basecoat the bone drumstick and to edge highlight the leather parts. (Citadel's Screaming Skull)


Now it's time to work some details:
- Shade: I shaded both the bone and the drumheads to give them some tinting and define the shadows with a sepia wash (yes, it definitely should be sepia rather than any brown wash!). (Vallejo's Sepia Shade)
- Basecoat: I painted the gloves and the inner part of the drum with black.
- Drybrush: To get that bone definition, I simply drybrushed white to the drumstick.

To finish the drum and the gloves, it is time to work some grey tones:
- Highlight: The first highlight on both drum and gloves needs to be done with a very dark-grey. (Vallejo's Dark Grey)
- Highlight: The second round of highlights was done with a light-grey applied on the same areas as the dark, but in the most prominent parts and edges. (Citadel's Administratum Grey)
- Glaze: This step should be done with a thinned-down black wash (preferably using thinner medium). (Citadel's Nuln Oil)

The last phase of this mini was all about working the metal parts of it. I will make an entire bog post about the Uruk-hai armour in the future, but for now this is how I have done it:
- Basecoat: The armour (helmet, chest and boots) was painted with a brown-metallic paint to resemble the use and travelling of the scouts. (Army Painter's Rough Iron)
- Basecoat and highlight: With a dark-silver, I basecoated the sword and highlighted the armour, trying to spot the areas where light hits the most and the edges. (Army Painter's Gun Metal)
- Highlight: The final highlights, done with a light-silver paint, were meant to give some chipping of the armour and to bring the blade-edge to life. (Army Painter's Shining Silver)
After all these steps all that was left to do was to finish the base and varnish the miniature.
Showcase


Comments
Post a Comment