
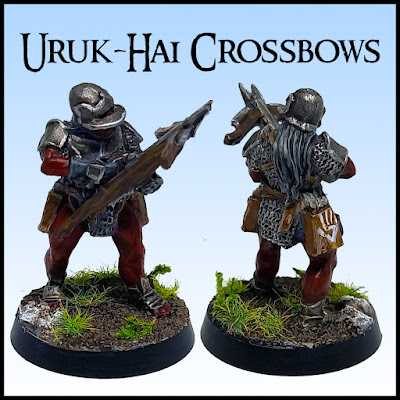
Painting: Uruk-Hai with Crossbows
Mae govannen.
How to paint Uruk-hai crossbowers?
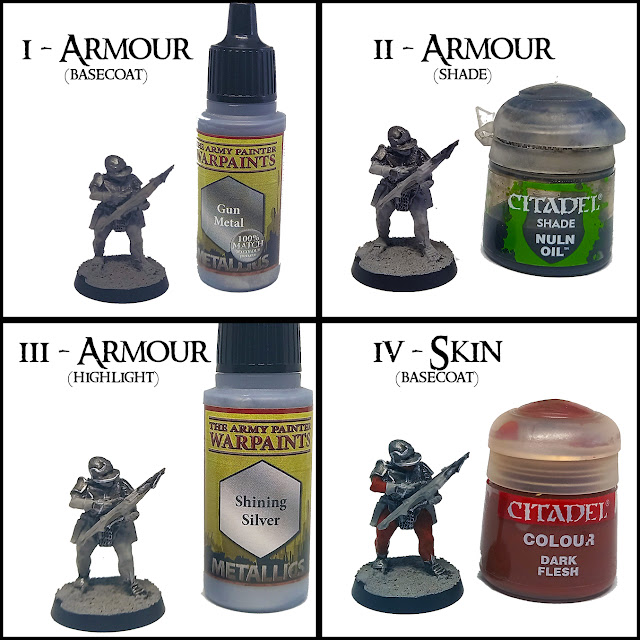
I: The entire armour and metallic parts of the crossbow were basecoted with a dark-silver paint;
II: The same parts of the previous step were than shaded with a black wash;
III: All the metallic parts were carefully highlighted with a light-silver paint. I focused mostly on the edges of the armour and crossbow. I also drybrushed the mail coat;

V: Unlike the skin of Men, the darker tone of the uruks oblige us to shade it with an equally darker tone. In this step I used a brown wash;
VI: For the highlighting step I mixed the paint used for the basecoat with a skin toned paint to achieve a lighter colour. The highlights were applied to the most prominent muscles;
VII: I usually basecoat the wooden parts of the miniatures with the same paint: a desaturated dark-brown. That's the colour used for the crossbow;
VIII: In this step, a leathery mid-brown was used for two things: to basecoat the cloth (quivers, belt and straps) and to highlight the wooden part of the crossbow.
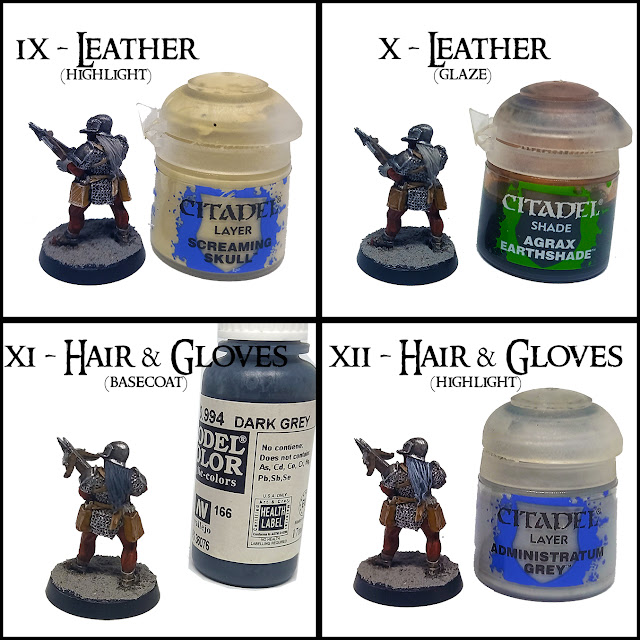
IX: The highlights of the leather parts were done with a bone/light-brown paint. I edge highlighted them and also painted some lines to get a used leather pattern;
X: The leather brown parts were then glazed with a thinned-down brown wash;
XI: There's only the gloves and the hair left. These were basecoated with a very dark-grey;
XII: After the dark grey basecoat I highlighted the hair and the gloves with a light-grey. I tried to pick the hair-strands with an overbrush and edge highlighted the gloves (fingers and top).
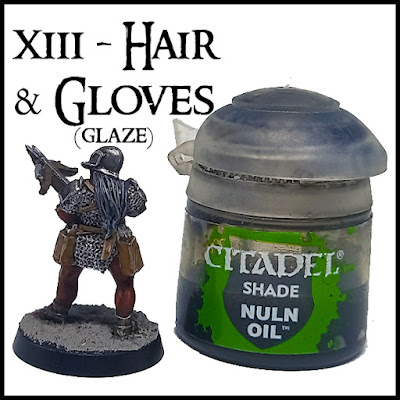
XIII: The final step is another glaze. This time I thinned-down a black wash and applied it to the entirety of the hair and gloves to bring all the greys together and tone them down.
Showcase
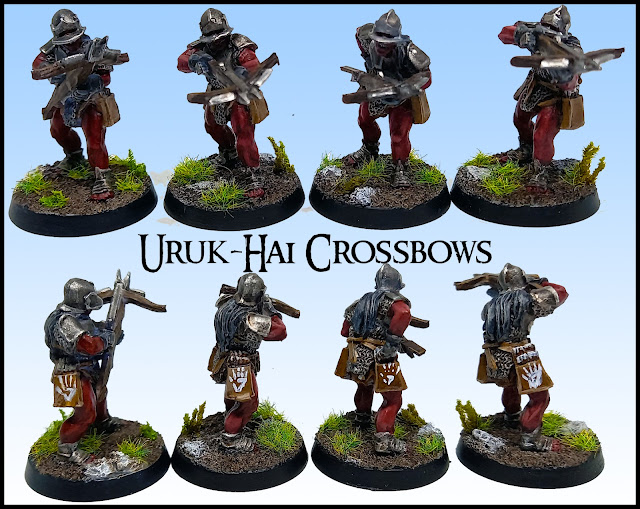 |
| The four Uruk-hai batch painted for this tutorial. |

Comments
Post a Comment