
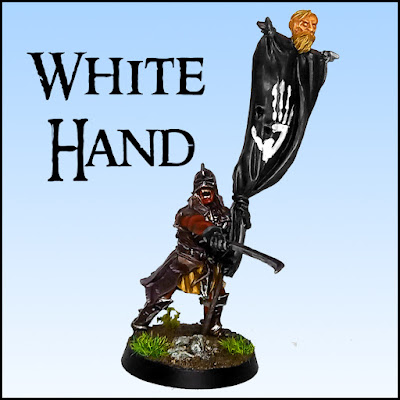
119 - Óin! (tutorial)

Mae Govannen, mellon nín!
In this post I'll make a tutorial on how to paint Óin, the dwarf from Thorin Oakenshield's Company, a miniature from the Escape from Goblin Town starter box (Games Workshop).
While I can say I really enjoyed painting him, this is one of those miniatures which the final result doesn't exactly match the expectations. But well, the secret is to always keep on going!
I've made a minor error since the beginning and, lucky me, it was easily solvable: The hands of Óin are supposed to have gloves, and I have painted them with skin tones. It's a clear case of low planning of the painting session.
But, before we get to the painting tutorial, a little bit of lore, as usual...
Who is Óin?
 |
| Assembled and unprimed miniature of Óin, the dwarf. |
After the slaying of Smaug the Dragon and the re-establishment of the Dwarf-kingdom under the Mountain, Óin settled for a time in Erebor.
However, in 2989, he set out with Balin and Ori in an attempt to re-establish a Dwarf kingdom in Moria.
He was killed there in 2994, by the monster called the Watcher in the Water.".
Source of description: David Day, Tolkien, the Illustrated Encyclopaedia.
Tutorial
First of all, an ultimate necessity to repeat myself, and I can't stress this enough: Do not paint the hands with skin tones!
Now that that's out of the way, let's move to the tutorial!
 |
I. Simple basecoat with a very thinned down acrylic paint.
II. Normal process of shading skin tones.
III. Highlights focused on: forehead, brow, cheeks and nose.
IV. Lighter tone highlights on a smaller area.
Ps: The hands aren't supposed to be painted!
|
 |
V. The normal type of basecoat.
VI. Medium toned highlights.
VII. Light toned highlights.
If you wish to use a black wash, you'll get the miniature to look like that last picture (I forgot to take a photo with the paint bottle afterwards)!
Ps: note that Óin's hair and eyebrows are also painted following this method.
|
 |
VIII. Basecoat only the pants with a dark brown.
IX. Basecoat the hood with a desert like colour.
X. Highlight the pants with a medium brown.
XI. Wash/Glaze the previously painted parts.
Ps: The gloves were painted following loosely the hair method, changing only the white for a black wash.
|
 |
| XII. This step aims only to clear the wash that was given before. XIII. Final highlights with an even lighter brown tone. XIV. Basecoat boots and inner cloth with a really dark brown. XV. Then highlight it with a medium brown. |
 |
| XVI. Mix the colours until you achieve the tone that you wish for the basecoat. XVII. Another brown shade. XVIII. Highlights progressively lighter (you may mix with the grey for the darker colours again). |
 |
| XIX. Simple base-coating step. XX. Shading and highlighting the ends of the staff with a light silver. |
Showcase


And that's all for now my friends!
The next tutorials will be focused on Gloin, Fili and Kili!
I really hope you find this tutorial useful!
Until next time! Keep on Painting and Wargaming!
Namárië!


Many thanks my friend!
ReplyDelete